Making a Custom Fitting Mask for My Dad
In light of the recent COVID-19 pandemic, the last several weeks have been undoubtedly difficult for all in different ways. For me, one challenge I’ve encountered has been wanting to help, but not sure how to do it. There are many amazing organizations that need financial assistance (such as City Meals and Support Kind, among others), but I wanted to find a way to do more.
As some of you may know, my parents are both physicians in two of the largest NYC hospitals, although neither work in the ER or ICU.
About a week ago my father was re-purposed to help with the COVID-19 pandemic. One of his concerns was that the standard masks available didn’t fit his face as snuggly as he would have liked. Being a hacker at heart, I, of course, set out to build a custom one for him, which in turn expanded a larger project.
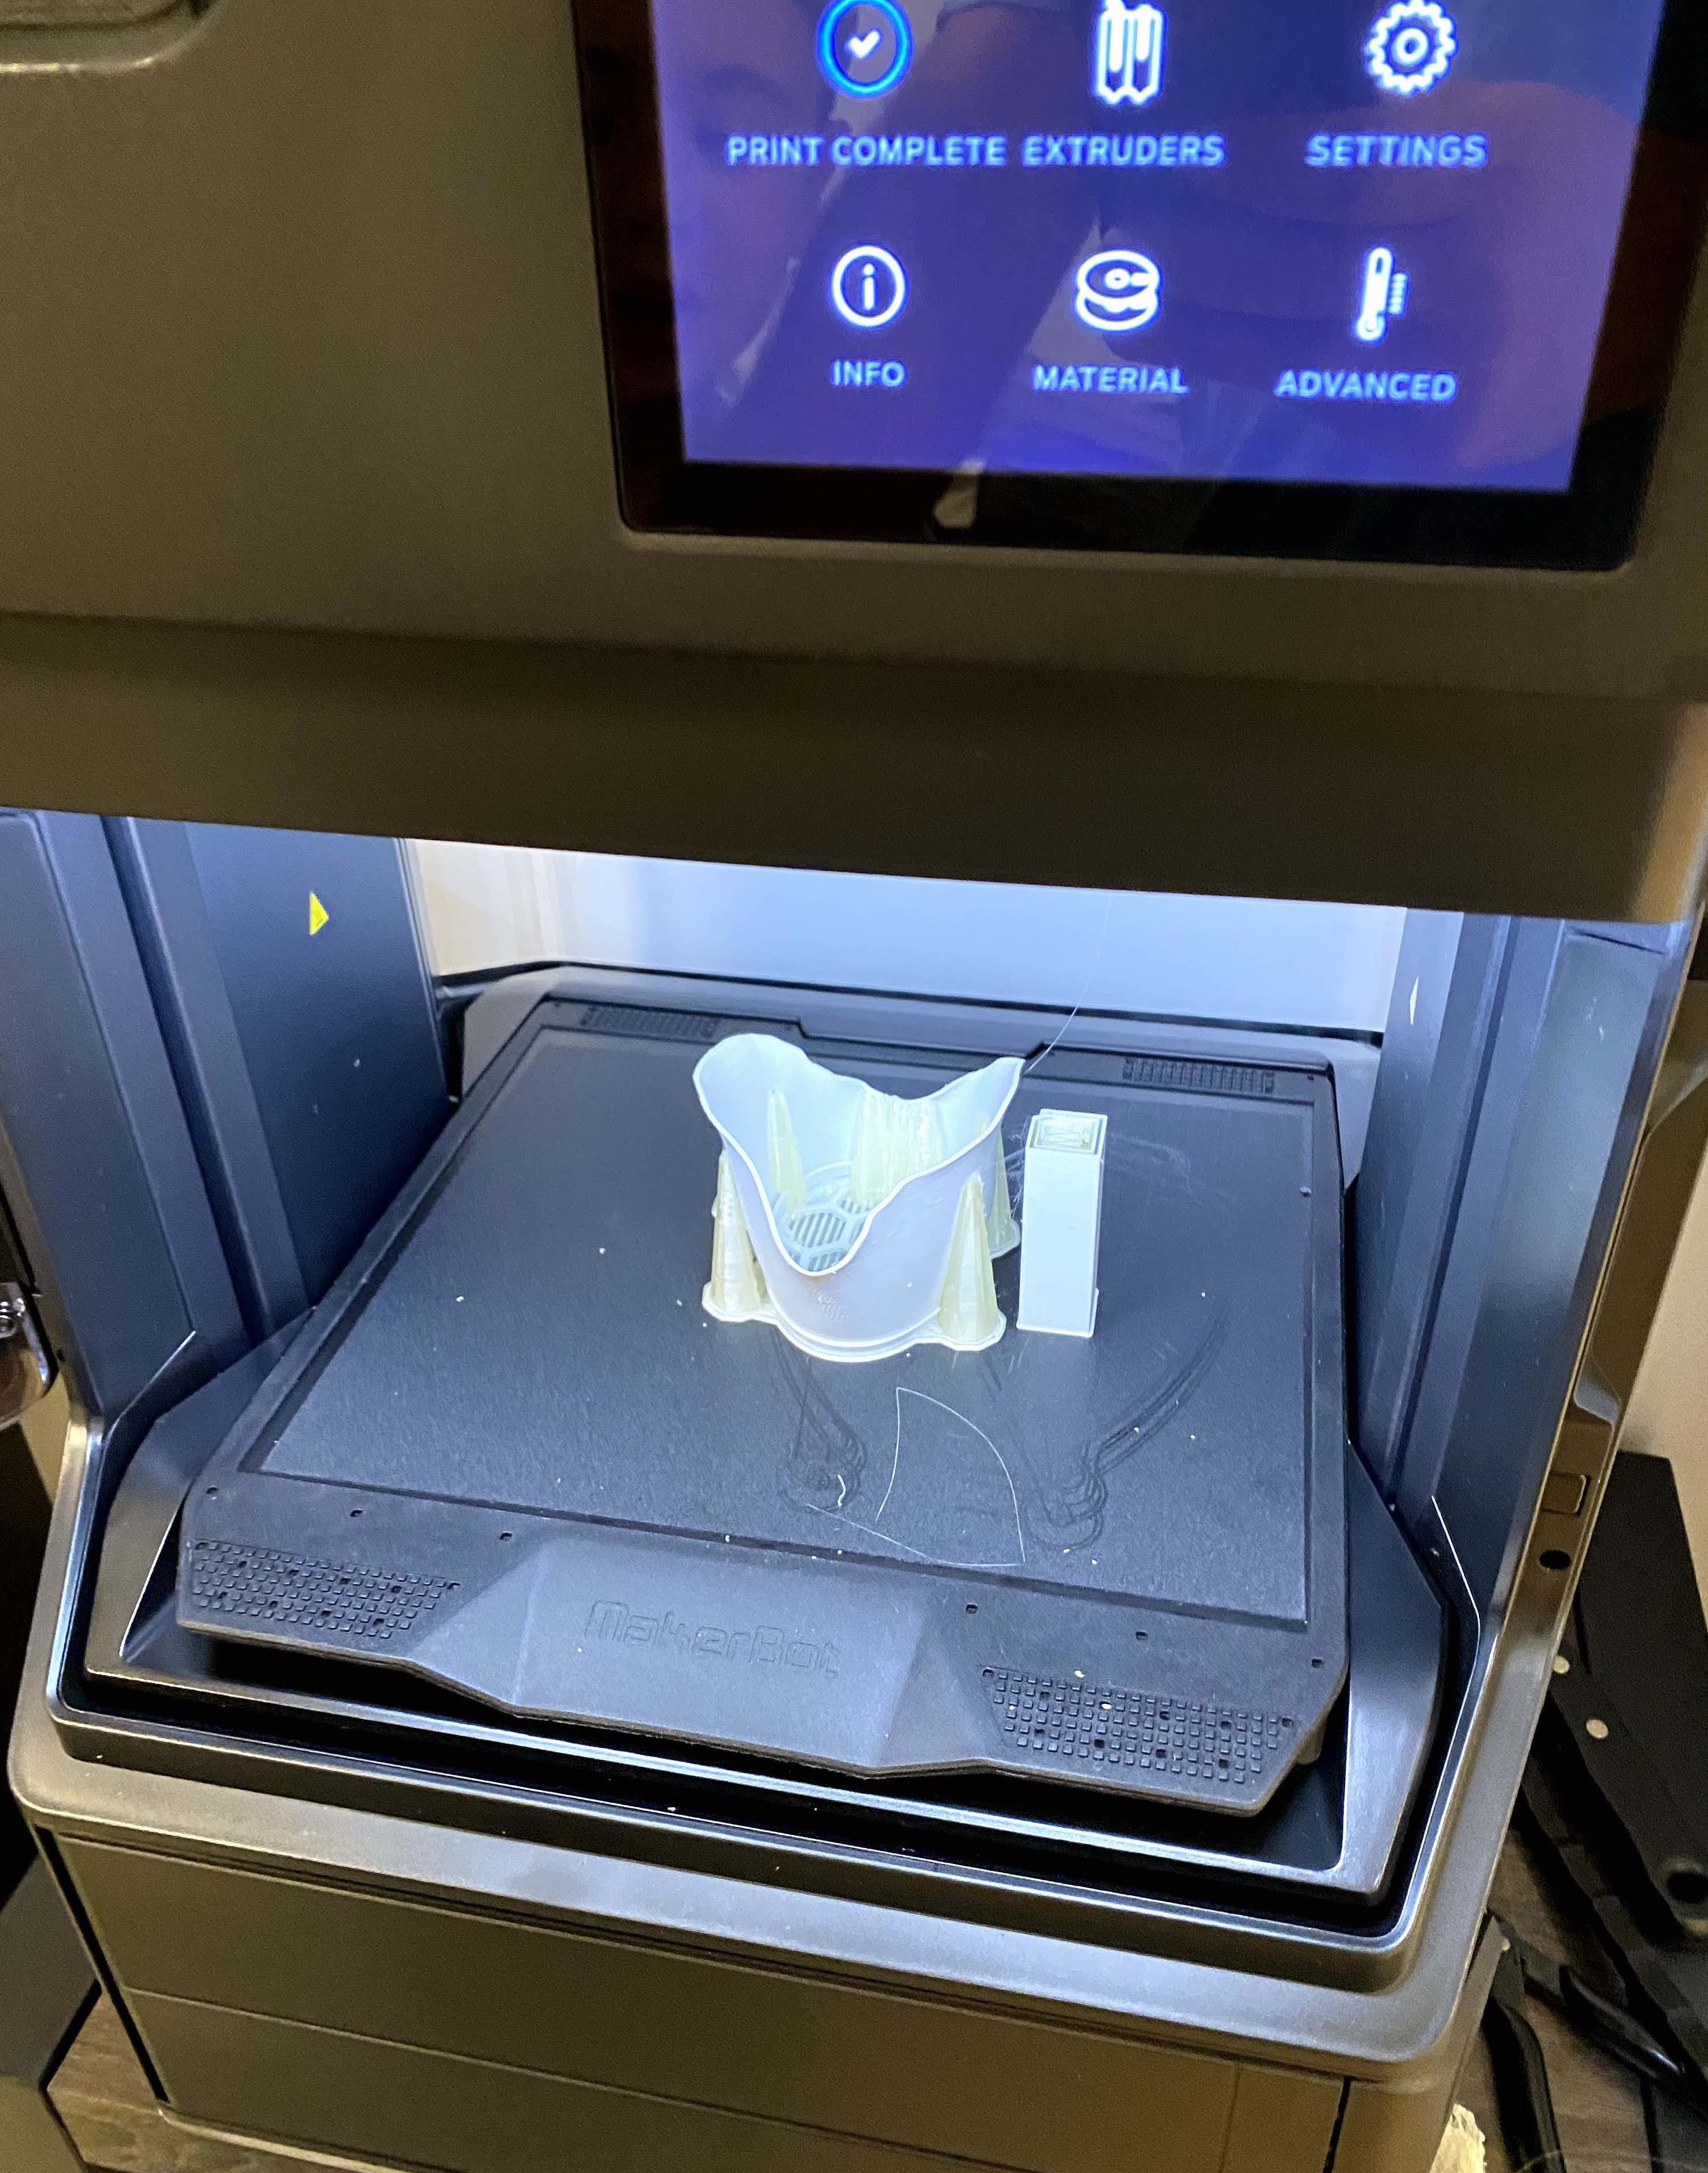
I found a great group set of instructions, bought a MakerBot Method, and mostly just followed the instructions.
Some caveats and roadblocks I ran into:
- Needed Windows and a NVIDIA card for Capturing Reality, so had to use an EC2 machine for it. Fortunately, remote desktop worked even better than I remembered.
- I needed about 30 high res pictures of just my dad’s face, taken in a circle from ear to ear with many views. Even with those high res pictures, I had to pick which images to use carefully – Shading, too much background, and lighting all made a big difference. If I had to do it over again, I would have had him spin on a white background rather than move the camera. I was also directing the photography remotely via my mom and sister, so was harder to iterate quickly.
- MakerBot Print doesn’t run on OS X 10.15, so I used Windows in Parallels.
- Before printing, I had to adjust the actual dimensions of the 3D model to reflect the actual sizing of a human head. I used eye-to-eye distance for reference since my dad happened to know his off the top of his head (he’s a retina surgeon)
- I had some trouble getting the 2nd extruder on the printer to load. The 2nd extruder on the Method is for the supporting structures (this is pretty cool actually) but I had to unload and reload the filament a number of times. Ultimately, I ended up having to help feed it all the way through to get it to work.
Overall things worked out pretty well, but there are a number of things I’m hoping to improve over the next couple of days. We had to makeshift an actual particle filter for the front opening. I’ll also be playing with the opening dimensions to make this easier. The print takes about 12 hours, so I am also looking to see if there is any way to speed it up.
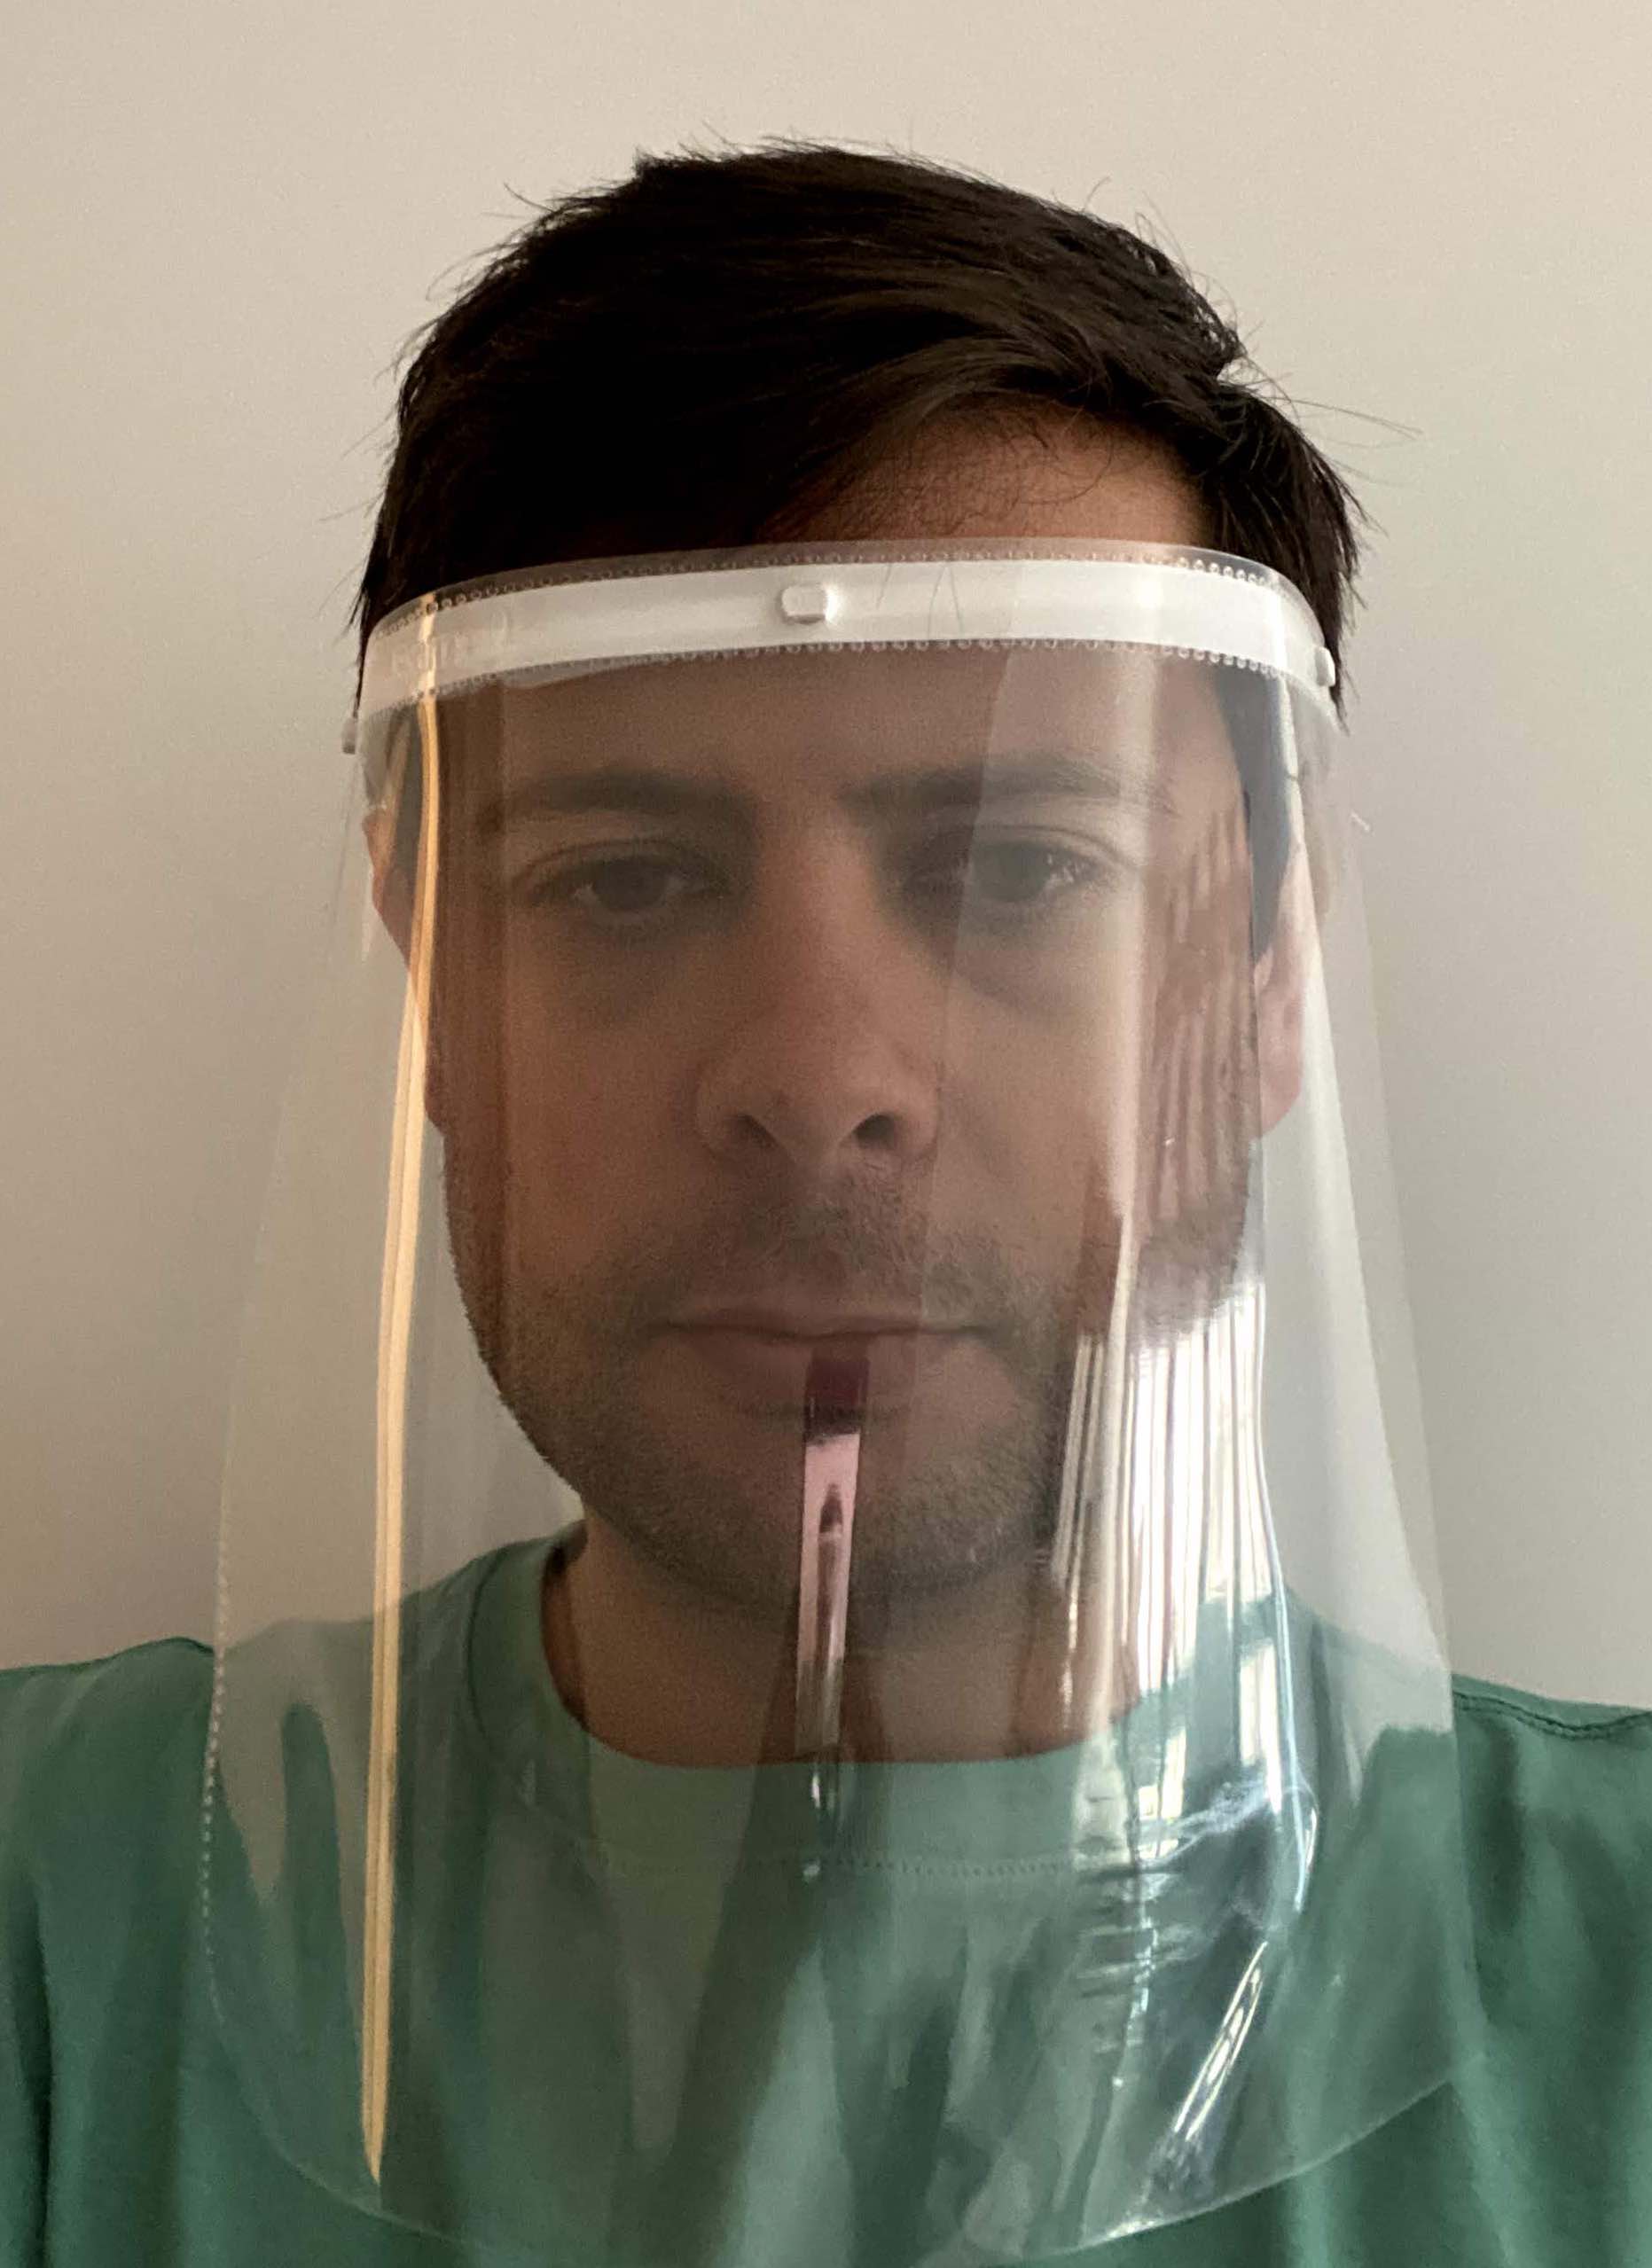
In the down-time on this project, I’ve been working on printing face shields, as they are in high demand and relatively straightforward to make at home. I started with this model. I had to make the overall print a little smaller for my printer, and then adjust the studs, but worked out nicely.
All the credit for this process being so easy goes to some really great projects out there. Seeing the amount of time and effort people have put into these projects is really inspiring, and gives me hope that we can continue to find innovative ways to help those on the frontline of this pandemic.
If anyone is interested in taking what I’ve learned to help, let me know. In addition, if anyone working on coronavirus projects needs database help, please reach out.

